
DIY Limewash Walls: A Beginner's Step-by-Step to Cloudy, Limestone Texture
Limewash gives flat, builder-grade walls the soft, cloudy movement of old limestone for the price of a few gallons of paint. Here is the complete beginner method, from diluting the first coat to the criss-cross brushwork that makes the texture appear.

DIY Craftsman & Home Stylist

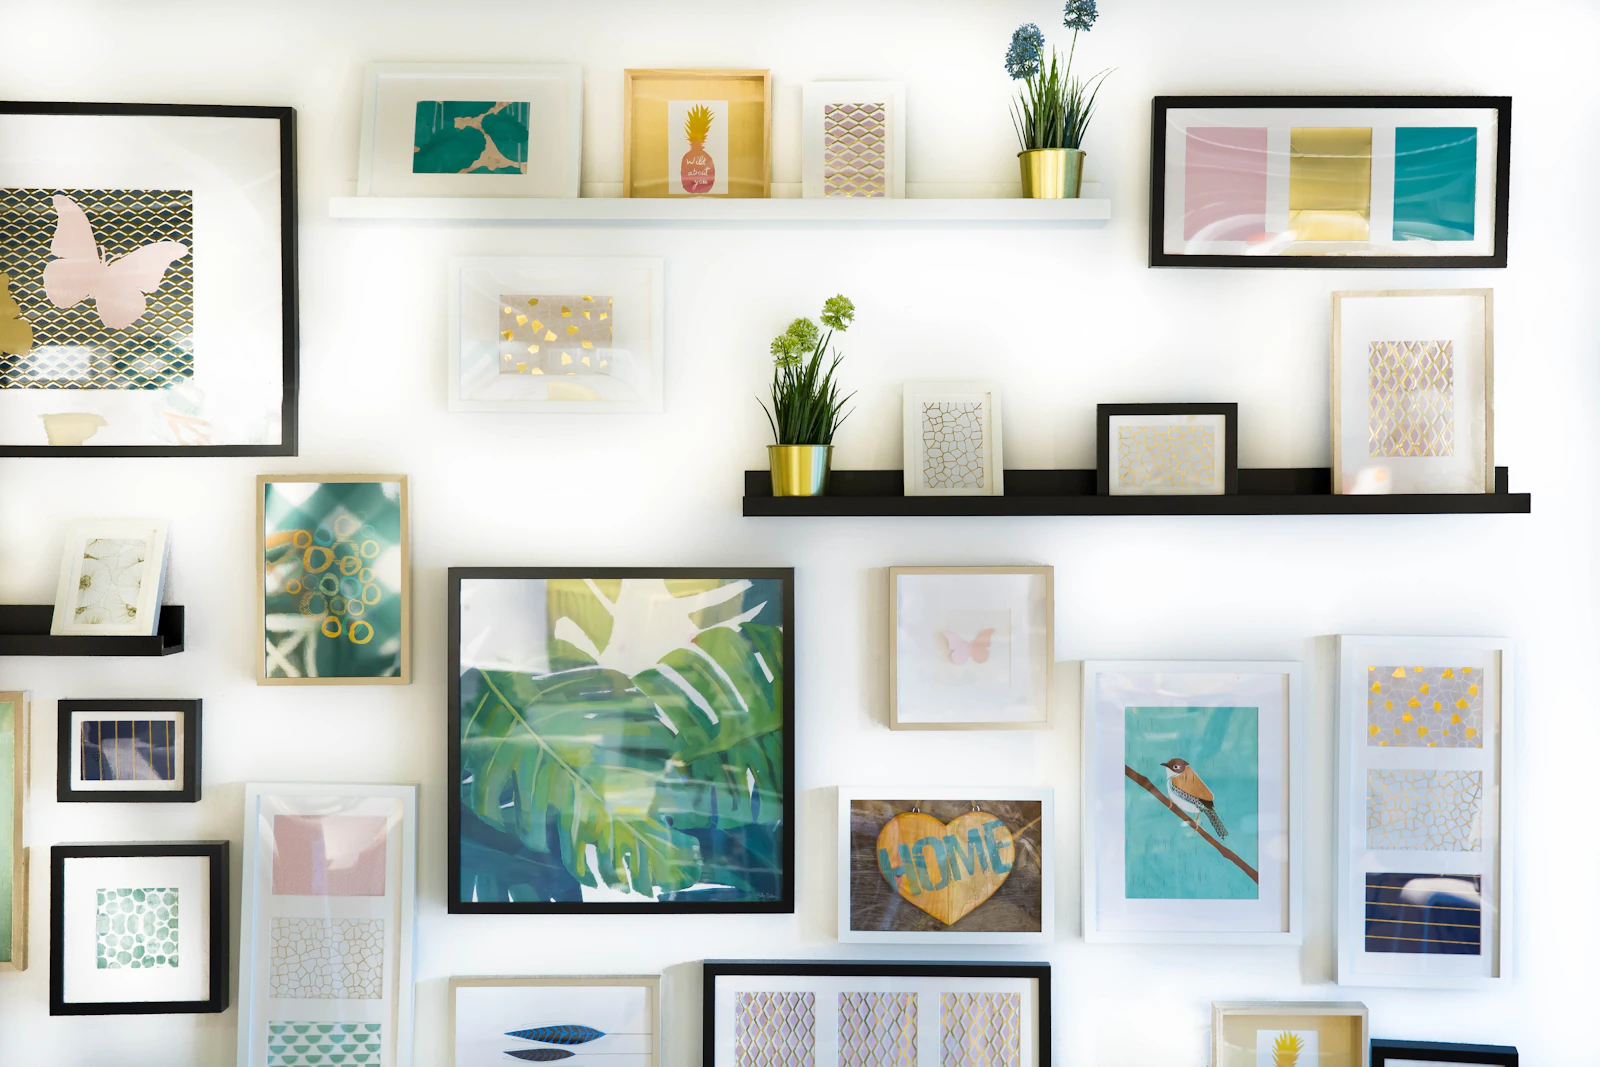
(Photo: Unsplash Editorial)
There is a reason limewash shows up in every sun-washed Mediterranean villa and moody boutique hotel you have ever saved to a mood board. Unlike flat paint, which sits on the wall like a colored sticker, limewash is made from crushed limestone that cures into the surface itself. As it dries, the mineral blooms in soft, cloudy patches — pale where the brush lingered, deeper where it passed twice. The result reads less like paint and more like architecture, and it is genuinely one of the most forgiving finishes a beginner can attempt. Mistakes do not need sanding or starting over; they become part of the patina.
A professional limewash job on a 12 × 14 ft bedroom typically runs $600 to $1,200 because it is labor, not material. Doing it yourself, expect $120 to $200 all-in: two gallons of limewash paint ($55 to $75 per gallon from brands like Portola, Kalklitir, or Bauwerk), a limewash primer if your walls are standard latex, a 4 to 6 inch block brush ($18 to $30), and basics you may already own. Plan on one unhurried weekend — about two hours of actual brushing per coat, spread across two days of drying.
What You Need Before You Open the Bucket
Limewash is a thin, watery product — closer to heavy cream than to regular paint — and it behaves differently at every step. Gather everything first, because once you start a wall you should not stop mid-section.
- Limewash paint: roughly 1 gallon per 300 sq ft per coat; buy two gallons for an average bedroom so your batch stays consistent
- Mineral or limewash primer: essential over existing latex or glossy paint; skip it only on bare plaster, brick, or unpainted drywall
- A large block brush: 4 to 6 inches wide with long, natural or mixed bristles — a roller will erase the texture you are paying for
- Two buckets: one for paint, one for clean water to mist and rinse
- A spray bottle or garden mister: for dampening the wall ahead of the brush
- Painter's tape, drop cloths, a stir stick, and a small angled brush for cutting in edges
- A drill mixer or long stir stick: limewash settles fast and needs stirring every few minutes
Step by Step: The Two-Coat Method
Step 1 — Prep and prime
Fill nail holes, sand rough patches, and wipe the walls with a damp cloth; limewash telegraphs dust as dark specks. Tape trim and ceilings. If your walls wear standard latex paint, roll on one coat of the manufacturer's mineral primer and let it dry fully — usually 6 to 12 hours. This primer gives the limestone something to grip. Working time so far: about an hour, mostly waiting.
Step 2 — Dilute the first coat
Pour your limewash into the bucket and stir until it is completely uniform. For the first coat, dilute with 20 to 30 percent clean water — roughly 1 cup of water per quart of paint. This thinner coat sinks in and becomes the base of the cloud pattern. Do not skip the dilution: undiluted first coats dry patchy in the wrong way, with visible lap lines.
Step 3 — Mist, load, and brush in clouds
Lightly mist a 3 × 3 ft section of wall with water; it should look damp, not dripping. Load the block brush, tap off the excess, and apply the limewash in loose, random criss-cross strokes — X shapes, lazy figure-eights, short arcs — working the section until it is covered but thin. Ragged edges are good: feather each section into the next while the edge is still wet. Keep a wet edge across the whole wall, and stir the bucket every time you return to it.
Step 4 — Let it scare you, then let it dry
Here is the part nobody warns beginners about: wet limewash dries much lighter than it looks, often by two or three shades, and halfway through drying it passes through an ugly, blotchy stage that looks like a water-damaged wall. Walk away. Give the first coat a full 24 hours before judging the color or touching it.
Step 5 — Second coat, slightly thicker
Dilute the second coat with only 10 to 15 percent water. Repeat the misting and criss-cross work, varying your stroke pattern from the first coat so the clouds layer instead of stacking. Two coats give a soft, subtle movement. A third coat — or a second color brushed wet-into-wet — deepens the effect for drama. Most beginners should stop at two and live with it for a week before deciding.
Mistakes That Actually Ruin the Finish
- Using a roller. A roller lays limewash flat and even, which is exactly what you do not want. Brush only.
- Working in straight rows. Grid patterns telegraph through the dried finish as stripes. Keep strokes random and overlapping.
- Painting a dry wall. On a thirsty, unprimed wall the limewash flashes dry in streaks. Prime first, mist as you go.
- Judging the color wet. A warm greige that looks like chocolate milk in the bucket may dry to pale sand. Always brush a large test patch and wait a full day.
- Stopping mid-wall for the night. Dried edges cannot be feathered. Always finish a full wall, corner to corner, in one session per coat.
Renter or commitment-phobe? Test the technique on a large piece of primed drywall or a canvas drop-cloth panel first, or limewash a single piece of furniture. The finish also works beautifully on fireplace brick and terracotta pots, and both forgive experiments far more cheaply than a whole room.
Aftercare and Living With Limewash
Limewash cures over about 30 days, growing slightly harder as the limestone carbonates. It is naturally antimicrobial and breathable, which makes it a smart choice for bathrooms and kitchens where humidity makes flat paint peel. The trade-off: it is a soft, matte surface that marks more easily than eggshell. Keep a labeled jar of your leftover paint for touch-ups — a dabbed block brush blends repairs invisibly, something flat paint never does. If you ever want to paint over it, a standard primer is all it takes.
Choose one wall this weekend, buy the small brush, and embrace the blotchy stage. By Monday morning you will have the kind of wall guests run their hand across and ask which century it came from — and it will have cost you less than a single framed print.
Shop The Look • Hand-Selected Room Pieces
 Best SellerTarget
Manage inventory, stock, sales, purchases, suppliers and business reports with MBI Inventra. Smart inventory management and POS software for pharmacies, wholesalers and retailers.
Editor's PickTargetManage patients, appointments, OPD queues, doctors, billing, laboratory, IPD, pharmacy, reports and printing — all from one secure hospital management software in Pakistan, with an AI assistant built in.
* The Decor Diary editors independently select all featured products. We may earn an affiliate commission on qualifying purchases made through our verified merchant links.
Editorial Standards & Fact-Checking
This guide was researched, written, and verified in accordance with The Decor Diary’s editorial principles. We test room solutions for practicality, longevity, and sustainability.
Read our full editorial workflow →Written by Sarah Jenkins
DIY Craftsman & Home Stylist
Sarah is a passionate maker and author focused on sustainable upcycling, custom carpentry, and transforming everyday living spaces with accessible weekend crafts and smart storage solutions.
View all articles by this author →Community Conversation (0)
Share Your Thoughts
Have a question about this decor layout or a tip of your own? We welcome civil, thoughtful discussion.
Related Design Stories
Step-by-Step DIY Fluted Coffee Table: A Budget-Friendly Weekend Woodworking Project
Learn how to build a high-end designer fluted coffee table using round wooden dowels, MDF rounds, and a warm limewashed oak finish for under .